> For the complete documentation index, see [llms.txt](https://docs.ox.security/llms.txt). Markdown versions of documentation pages are available by appending `.md` to page URLs; this page is available as [Markdown](https://docs.ox.security/ticketing-and-messaging/ticket-management/azure-boards.md).
# Azure Boards
Azure Boards is a work tracking tool within Azure DevOps that helps software development teams plan, track, and discuss work items efficiently.
It provides customizable Kanban boards, backlogs, dashboards, and reporting tools to streamline project management, ensuring teams can collaborate effectively on software development and delivery.
Integrating OX Security with Azure Boards enhances your software development lifecycle by embedding security insights directly into your workflow, as follows:
* **Automated Issue Tracking:** Security findings detected by OX Security can be logged as work items in Azure Boards, ensuring that vulnerabilities are addressed promptly.
* **Seamless Collaboration:** Developers, security teams, and project managers can manage security-related tasks within their existing work tracking system, reducing friction in the remediation process.
* **Improved Security Visibility:** The integration provides clear visibility into security risks within the development pipeline, helping teams prioritize and resolve issues efficiently.
* **Enhanced Compliance Management:** Organizations can ensure compliance by tracking security-related tasks alongside other development activities, making audits and reporting more manageable.
## Adding Azure Boards Tickets
After [establishing the connection with Azure Boards](#connecting-azure-boards), you can add Azure tickets for DevOps tasks and issues in OX using one of the following methods:
* Adding a new ticket to an issue, or bulk of issues on the Active Issues page.
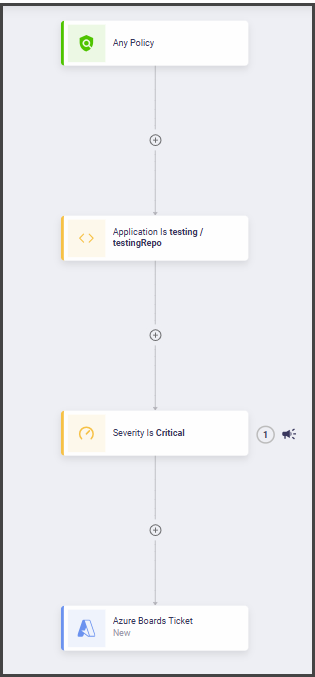
* Adding a new ticket as a scheduled task using workflows.
**To add a new Azure ticket in OX:**
1. In the Active Issues page, identify and select the issue for which you want to add a devops related ticket in Azure Boards.
2. Select the Azure Boards icon.
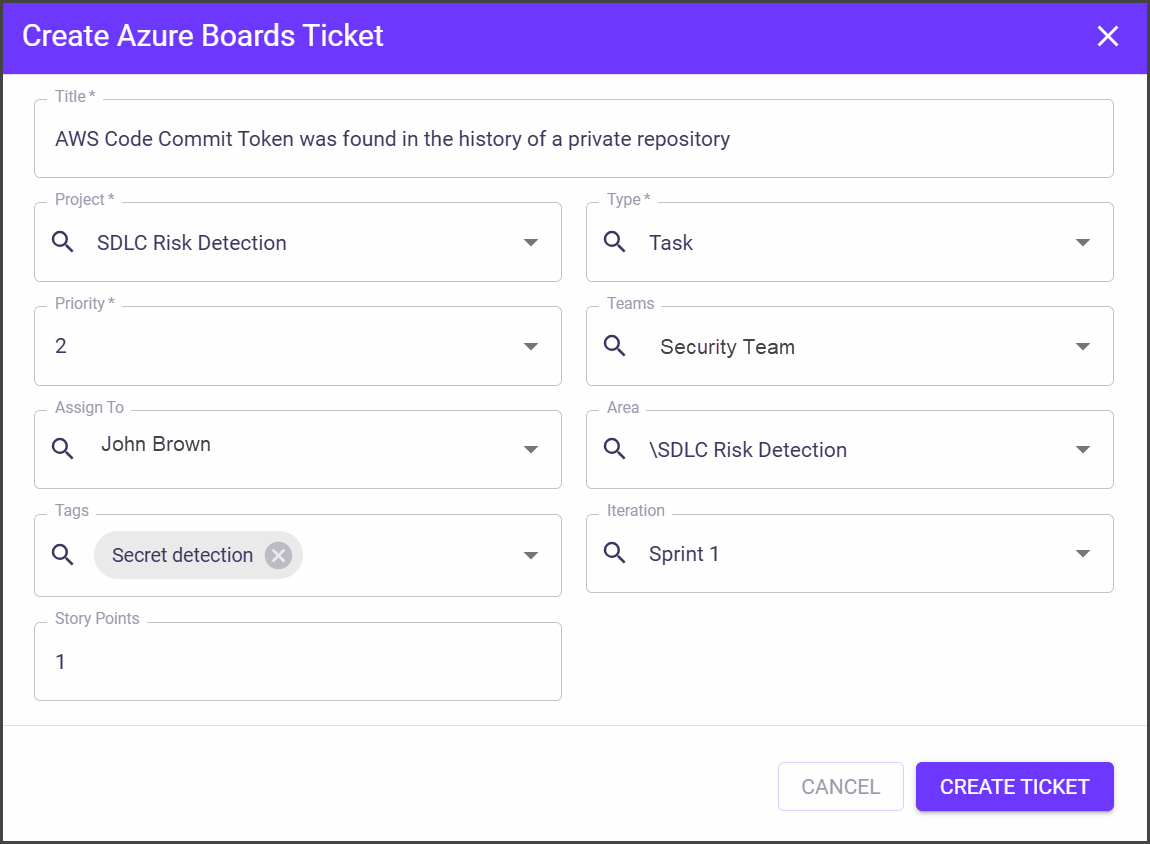
3. Set the ticket details in the **Create Azure Boards Ticket** dialog and select CREATE TICKET.
| Parameter | Description |
| ---------------- | ----------------------------------------------------------------- |
| **Title** | The title of the ticket that describes the problem/issue. |
| **Project** | The name of the project, as it's defined in Azure Boards. |
| **Priority** | Set the priority that you think should be assigned to this issue. |
| **Assign To** | Set the team member who will work on the ticket. |
| **Tags** | Add tags for ticket classification. |
| **Story Points** | Define how long it should take to resolve this ticket. |
| **Type** | Specify the type of the Azure ticket (**Epic, Issue, Task**). |
| **Teams** | The team that should resolve the ticket. |
| **Area** | The area, as defined in the Azure Boards ticket. |
| **Iteration** | The sprint in which this ticket must be resolved. |
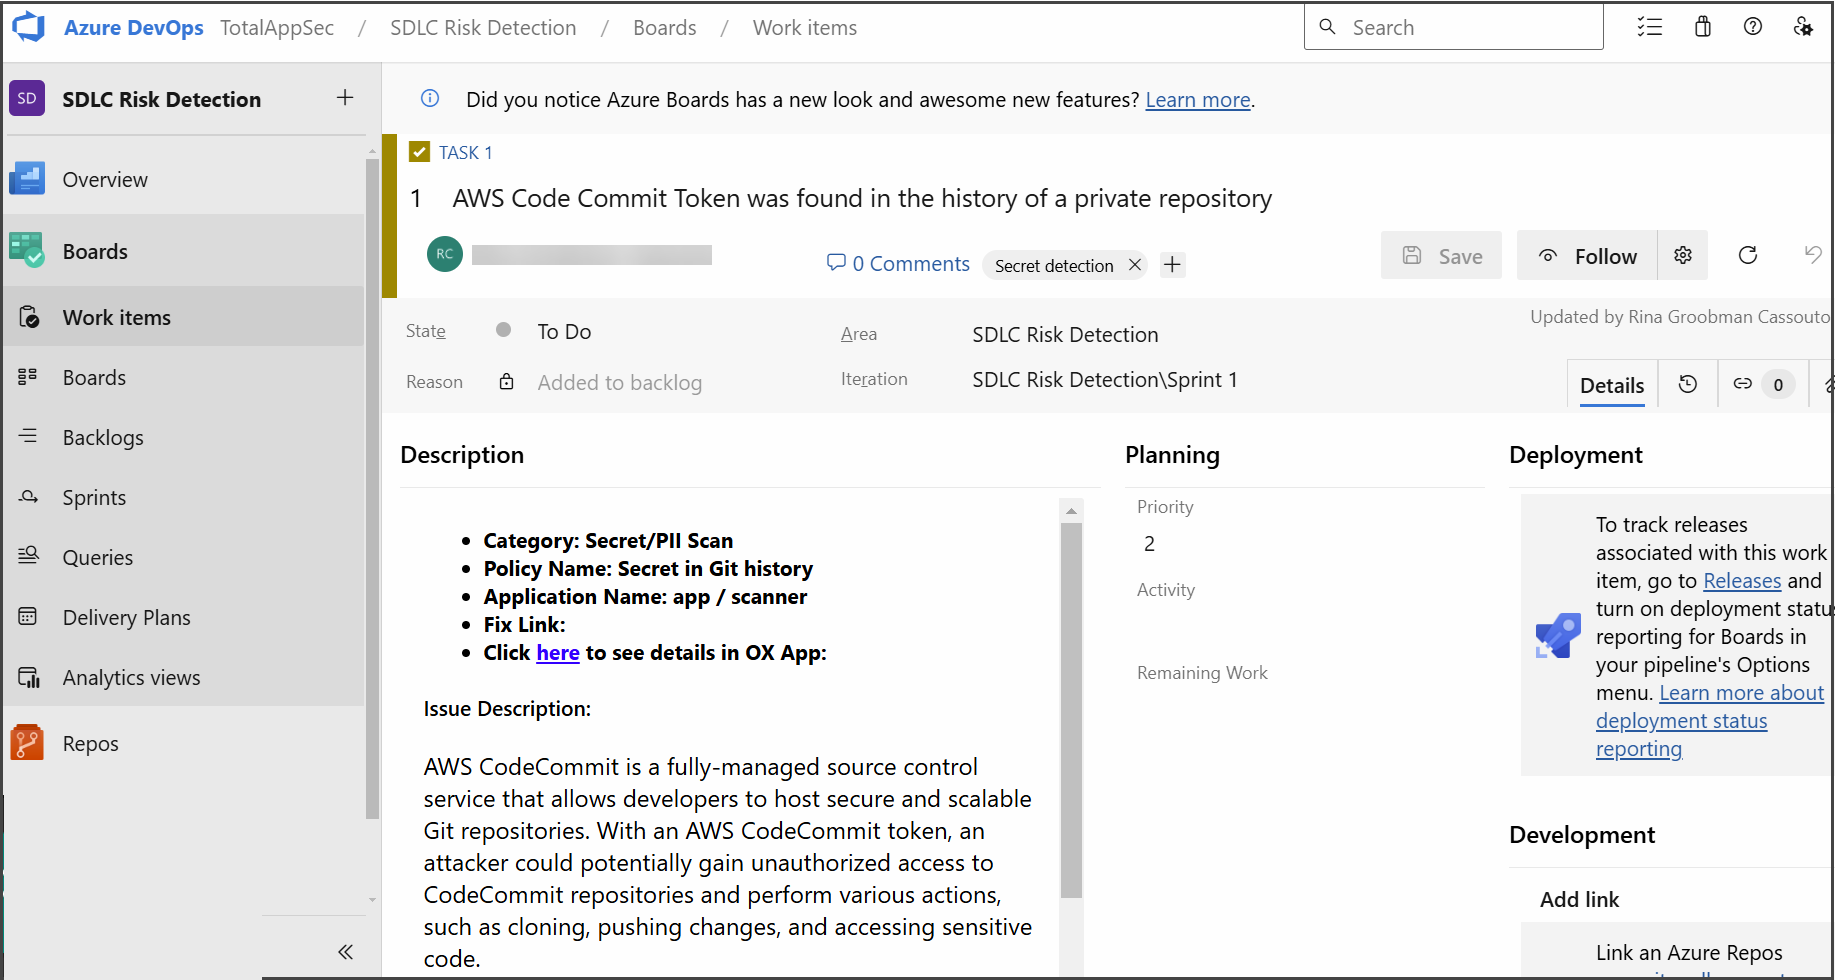
The new ticket appears in Azure Boards.
## Connecting to Azure Boards
### Prerequisites
* Microsoft Azure account
### Step 1: Get Azure Boards Token
1. Log in to your Azure DevOps account:\
[https://${hosturl}/${OrgName}](https://${hosturl}/$%7BOrgName%7D)
2. From your profile picture in the top-right corner select **User settings**.
3. Select **Personal Access Tokens** and then click **+ New Token**.
4. In the **Create a new personal access token dialog box**, set the following:
| Parameter | Description |
| -------------------- | ------------------------------------------------------------------------------------------------------------------------------------------------------------------------------------------------------------------------------------------------------------------------------------------------- |
| **Name** | A significant name that makes it easy to identify the purpose of the token. |
| **Organization** |
Your organization name. In case your azure account is used for several organizations, you need to choose from a list.
|
| **Expiration (UTC)** |
Set the expiration date as far as possible. Set a specific number of days for the token's validity. Define a number of days based on your organization needs. Note: For security reasons, it is not recommended to use the option Never expire.
|
| **Scopes** |
The scope of access associated with this token. Set the following: - Work items: Read & write. - Member Entitlement Management: Read - Project and Team: Read
|
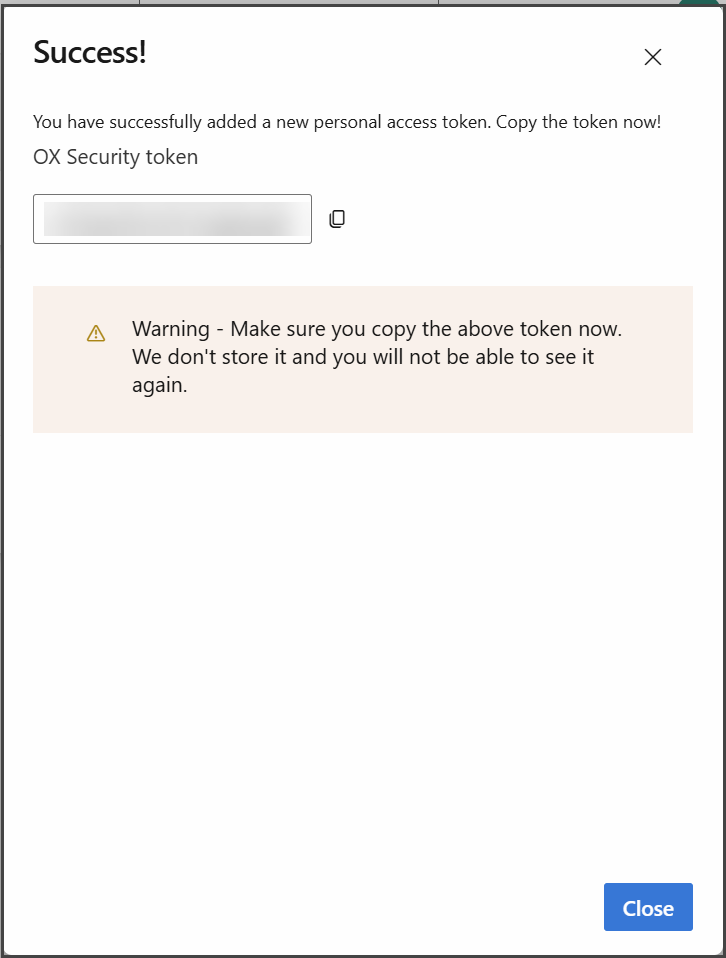
5. Select **Create**. The dialog with the token appears.
6. Copy the token and store it in a different location.\
After closing this dialog you cannot see it again.
### Step 2: Connect to Microsoft Azure
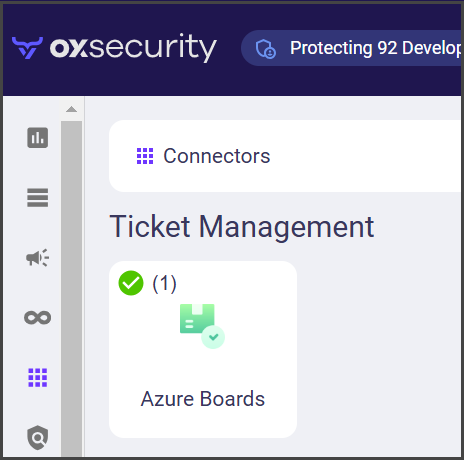
1. In the **OX app**, go to **Connectors** and search for Azure Boards.
2. Select **Azure Boards** and set the following parameters in the **Configure your Azure Boards credentials** dialog.
| Parameter | Description |
| ----------------------- | --------------------------------------------------------------------------------------------------------------------------------------------------------------------------------------------------------------------------------------------------------------------------------------------------- |
| Azure Boards Host URL | Add your Azure DevOps account URL. |
| Token | Paste the token you have created. |
| Connection Name | The name is generated automatically by OX. |
| OX Broker | Enable to connect through an OX Broker. Use this option when GitHub is accessible only through an internal network or when your organization requires all connector traffic to be routed through an [OX Broker](/get-started/onboarding-to-ox/prerequisites-and-access/ox-deployment/ox-broker.md). |
| Bypass SSL Verification | Enable to skip SSL certificate validation. Use only if your environment uses self-signed or otherwise untrusted certificates. Not recommended because it reduces connection security. |
3. Select **CONNECT**. The success message appears.
---
# Agent Instructions
This documentation is published with GitBook. GitBook is the documentation platform designed so that both humans and AI agents can read, navigate, and reason over technical content effectively. Learn more at gitbook.com.
## Querying This Documentation
If you need additional information that is not directly available in this page, you can query the documentation dynamically by asking a question.
Perform an HTTP GET request on the current page URL with the `ask` query parameter, and the optional `goal` query parameter:
```
GET https://docs.ox.security/ticketing-and-messaging/ticket-management/azure-boards.md?ask=&goal=
```
`ask` is the immediate question: it should be specific, self-contained, and written in natural language.
`goal` is optional and describes the broader end goal you are ultimately trying to accomplish on behalf of the user. GitBook uses it to tailor the answer towards what is most useful for that goal.
The response will contain a direct answer to the question and relevant excerpts and sources from the documentation.
Use this mechanism when the answer is not explicitly present in the current page, you need clarification or additional context, or you want to retrieve related documentation sections.


.png?alt=media)
.png?alt=media)