> For the complete documentation index, see [llms.txt](https://docs.ox.security/llms.txt). Markdown versions of documentation pages are available by appending `.md` to page URLs; this page is available as [Markdown](https://docs.ox.security/vibesec/installing-vibesec/installing-vibesec-on-a-single-device-using-token.md).
# Installing VibeSec on a Single Device Using API Token
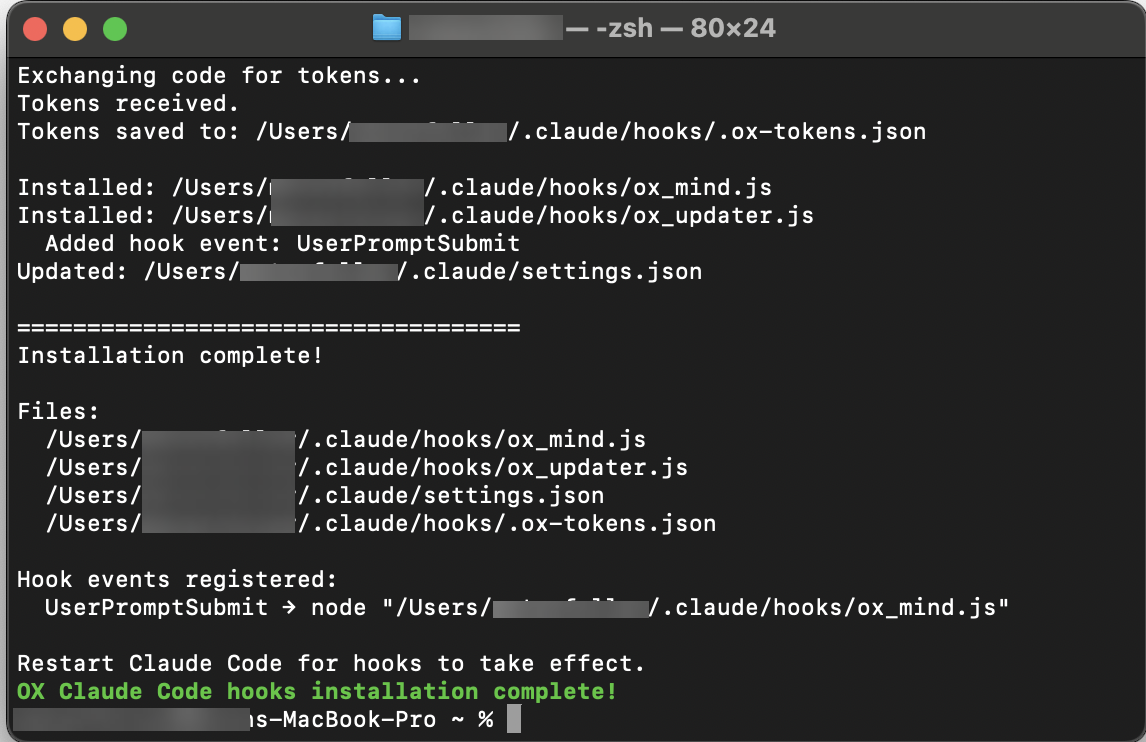
This guide explains how to install and connect VibeSec to AI-powered coding environments using token authentication.
Once the connection is established, VibeSec activates automatically in your development environment and applies security controls during coding, without interrupting your workflow.
After the installation, your admin can view developer usage and risk-prevention metrics in the [VibeSec Usage Report](/generate-reports/built-in-reports/vibesec-usage-reports.md) in the OX dashboard.
You can [uninstall VibeSec](/vibesec/installing-vibesec/uninstalling-vibesec.md) at any time.
> **Note:** When using Copilot, the following models are not supported with the VS Code Copilot Extension: Gemini 2.5 Pro and GPT-4o. You can disable them before you start working with OX VibeSec. For instructions on how to disable Copilot models, refer to [Disabling Unsupported Copilot Models.](/vibesec/installing-vibesec/disabling-unsupported-copilot-models.md)
## Prerequisites
| Prerequisite | Details |
| ------------------ | --------------------------------------------------------------------------------------------------------------------------------------------------------------------------------------------------------------------------------------------------------- |
| **Network access** |
If your organization restricts outbound network traffic (for example, using a proxy or firewall), add the following domains to your allowlist:
|
| **VibeSec token** | Create a [new VibeSec token](/vibesec/installing-vibesec/creating-new-vibesec-tokens.md) before you begin. |
## Install VibeSec on Cursor, Claude Code, Kiro, VS Code IDE Extension, and VS Code Copilot Extension
1. [Create a new VibeSec token](/vibesec/installing-vibesec/creating-new-vibesec-tokens.md).
2. From any terminal, run:
**Mac**
```
curl -fsSL https://ox-vibesec.s3.eu-west-1.amazonaws.com/vibesec-installation/install.sh | bash -s -- --ox-flag --token "${OX_TOKEN}"
```
When using a proxy, add:
```
--proxy ${YOUR_PROXY_URL}
```
**Linux**
```
wget -qO- https://ox-vibesec.s3.eu-west-1.amazonaws.com/vibesec-installation/install.sh | bash -s -- --ox-flag --token "${OX_TOKEN}"
```
When using a proxy, add:
```
--proxy ${YOUR_PROXY_URL}
```
**Windows (PowerShell)**
```
& ([scriptblock]::Create((irm https://ox-vibesec.s3.eu-west-1.amazonaws.com/vibesec-installation/install.ps1))) -OxFlag -Token ""
```
When using a proxy, add:
```
-Proxy ""
```
2. Restart your AI coding tool.
> **Note**\
> It is recommended to test VibeSec with a prompt such as:
>
> `Create a web form that accepts user input and stores it in the database`,
>
> or
>
> `Create a web form that allows the user to upload a file and store it in the database`.
### Use a custom user identity
By default, VibeSec automatically determines the user identity that appears in the Agent Activity Log. If needed, you can specify a custom identity during installation by using the optional `--user` parameter (`-User` on Windows).
This option is useful when:
* You use VibeSec outside a Git repository and no Git user email is available.
* You deploy VibeSec through an MDM solution and want activity to be associated with a predefined device or user identifier.
* You want to report activity under a custom name instead of the Git user email.
#### Linux and macOS
```
curl -fsSL https://downloads.ox.security/vibesec/install.sh | bash -s -- \ --token \ --url \ --user
```
#### Windows
```
.\install.ps1 ` -Token "" ` -Url "" ` -User ""
```
The value can be any text and does not need to be an email address.
The `--user` parameter is supported only for API token installations. When you install VibeSec by using OAuth authentication, the installer ignores this parameter because the user identity is obtained from the authenticated OAuth session.
If you don't specify `--user`, VibeSec determines the identity by using the following order:
1. The Git `user.email` value.
2. The operating system user, formatted as `username@hostname`.
3. An automatically generated anonymous identifier.
The resolved identity is displayed in the Agent Activity Log.
---
# Agent Instructions
This documentation is published with GitBook. GitBook is the documentation platform designed so that both humans and AI agents can read, navigate, and reason over technical content effectively. Learn more at gitbook.com.
## Querying This Documentation
If you need additional information that is not directly available in this page, you can query the documentation dynamically by asking a question.
Perform an HTTP GET request on the current page URL with the `ask` query parameter, and the optional `goal` query parameter:
```
GET https://docs.ox.security/vibesec/installing-vibesec/installing-vibesec-on-a-single-device-using-token.md?ask=&goal=
```
`ask` is the immediate question: it should be specific, self-contained, and written in natural language.
`goal` is optional and describes the broader end goal you are ultimately trying to accomplish on behalf of the user. GitBook uses it to tailor the answer towards what is most useful for that goal.
The response will contain a direct answer to the question and relevant excerpts and sources from the documentation.
Use this mechanism when the answer is not explicitly present in the current page, you need clarification or additional context, or you want to retrieve related documentation sections.